
St. Louis has a unique and thriving food, beer, and wine scene. Voted 5th best city to eat in by Food & Wine magazine, you’ll find an impressive list of restaurants serving updated, and contemporary versions, of the classics. You’ll also find a unique blend of cultures and, therefore, cuisines. Southern BBQ, blended with Italian and Greek food, blended with Germany’s love for good beer, blended with a myriad of other influences; all of which shape the food of St. Louis, and the surrounding region.
St. Louis style pizza is unique with its wafer thin, cracker like crust, “sweeter” tasting tomato sauce, and Provel cheese (a combination of provolone, swiss, and cheddar). Meet us in St. Louie-Louie, and follow the instructions below to make 2 authentic, and delicious, St. Louis style pizza.
FOR THE CRUST:
- 2 Cups All Purpose Flour
- 2 TableSpoons Cornstarch
- 2 Teaspoons Sugar
- 1 Teaspoon Baking Powder or Baking Soda
- 1 Teaspoon Table Salt
- 1/2 Cup, Plus Two Tablespoons, Water
- 2 Tablespoons Olive Oil
FOR THE CHEESE:
- 1 Cup Cheddar Cheese, Shredded
- 1 Cup Swiss Cheese, Shredded
- 1 Cup Provolone Cheese, Shredded
- “I’m not buying three types of cheese“- If that sounds like you, we understand. The type of cheese you put on your pizza is up to you, so combine your favorite cheeses any way you like. Don’t let the Get Cheffy kitchen tell you how to live your life.
FOR THE SAUCE:
- 1, (8oz) Can Tomato Sauce
- 3 Tablespoons Tomato Paste
- 1/2 Tablespoon Sugar
- 2 Teaspoons Dried Oregano
GET CHEFFY TIP!- If making a pizza dough is an absolute non-starter, we get it (you’re bizzy). A store bought, thin pizza crust can easily be substituted here, as can large, flour tortillas (St. Louisans would scoff at this notion, however). Try the crust at least once and kept the backup options up your sleeve in case of emergencies.
GET CHEFFY TIP!- If making your own sauce is a non-starter, your favorite jar of marinara, or other red sauce, can also be used. Rao’s is our favorite store bought marinara, but use whatever brand you have in the fridge.
- Begin by making your dough. Combine your flour, cornstarch, sugar, baking powder/baking soda, and salt in a large bowl. Combine your water, and olive oil and stir this liquid mixture into your flour mixture until a shaggy ball is formed. Dump the dough ball onto a surface, and continue to knead with your hands for 2-3 minutes. Again, the dough will be very “shaggy” to start, and will look dry– resist the temptation of adding more water.
- You can make this dough up to two days ahead. If you want to save your dough, after completing step 1, tightly wrap the ball of dough in plastic wrap and refrigerate for up to 48 hours.
- To make your sauce, whisk together your tomato paste, sugar, oregano, and tomato sauce in a bowl, and set aside. When ready to bake, take your dough, and divide in half. Cover the other half with plastic wrap, while you form your first crust.
Roll It- Brush It- Dock It- Bake It– Follow the instructions, and pictures, below:

1. Start with 1/2 of your dough 
2. Flatten into a general disc shape 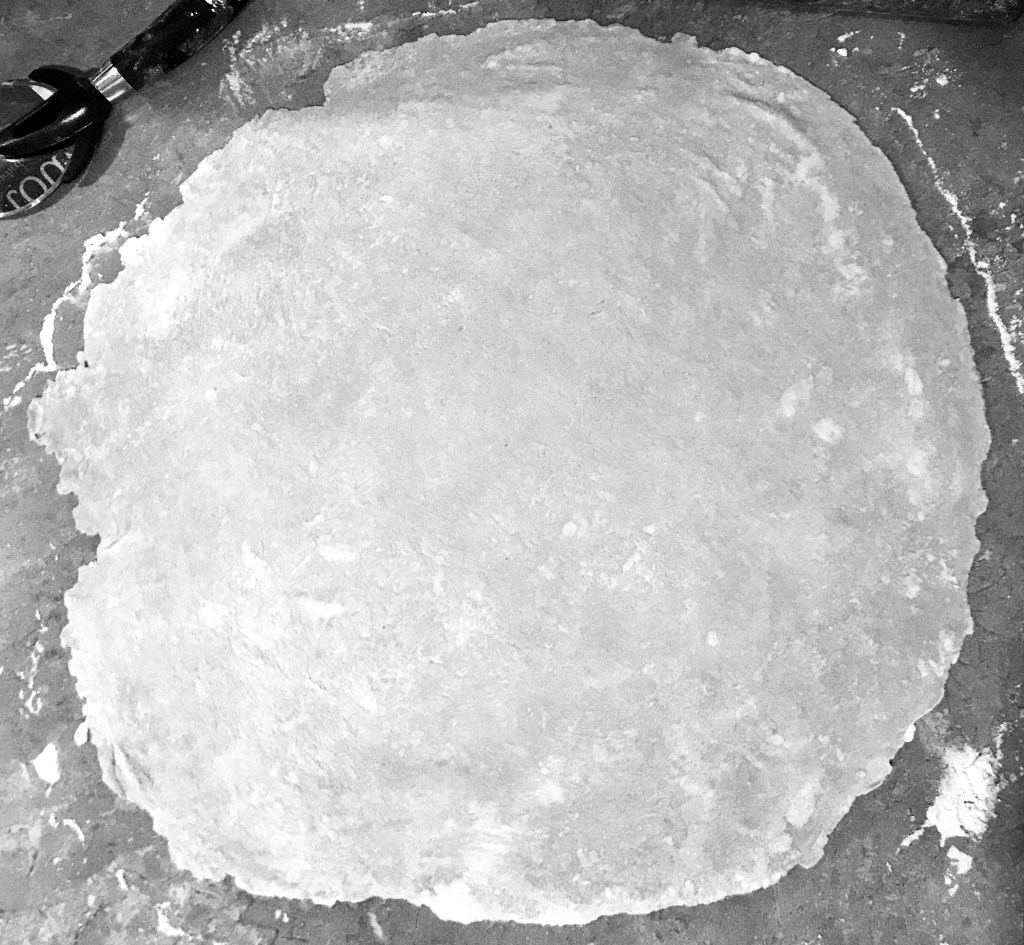
3. Use a rolling pin to roll out to a rough, 12 inch round 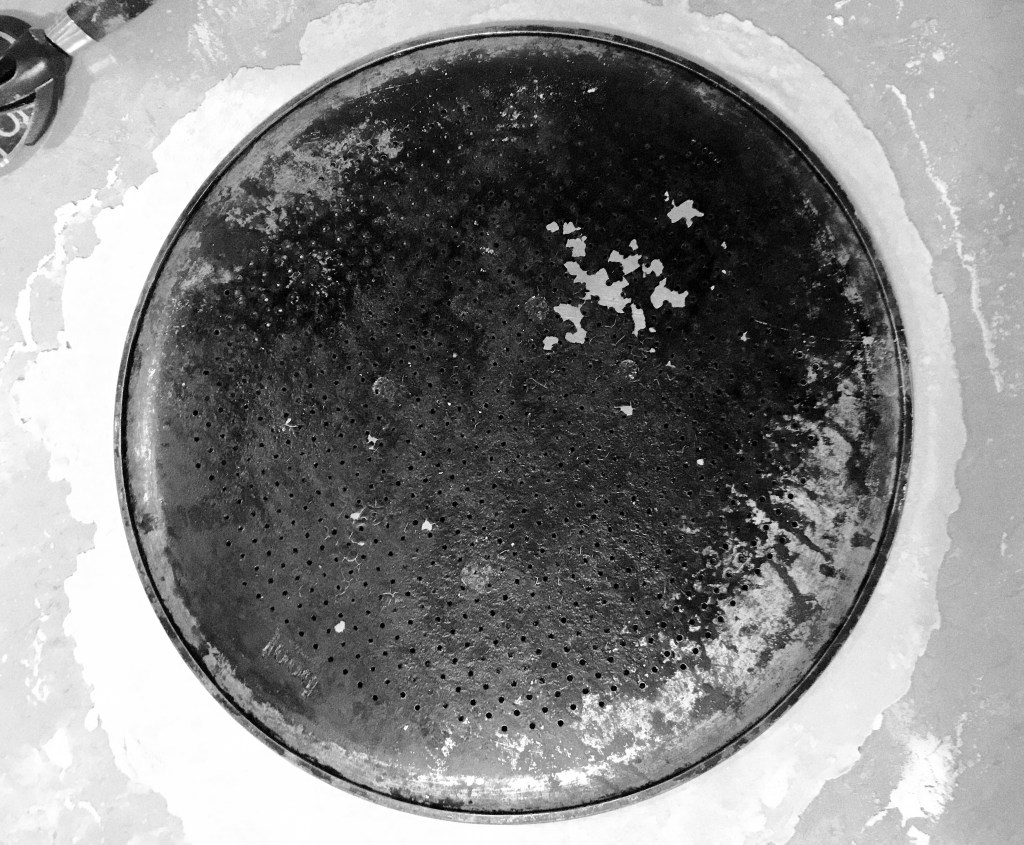
4. Create a clean edge, and use your baking tray as a stencil 
5. Ta-Da!…aren’t you Cheffy… 
6. Dock it- Prick holes into the crust using the tines of a fork
- Using your hands at first, gently begin to shape the dough ball into a flat disc (when kneading, or shaping dough, always try to begin in the general shape of what you want the finished product to look like).
- Once you have a general, round shape, begin to flatten and stretch the dough using a rolling pin. Don’t be afraid of flour; flour everything, the top of the dough, the underside of the dough, the rolling pin, etc. It will take about 3-4 minutes of continual rolling, but your dough will eventually take shape, and stretch out. As you roll out the dough, extend the pin past the edge of the dough–in other words, don’t stop at the edge of the dough you’re making, roll past it, and onto the bare counter to ensure you’re stretching the dough evenly.
- After 3-4 minutes of continual rolling, and turning/flipping your dough, you should have a fairly large amoeba shaped crust.
- To make this presentable, put a pan, or other round item on top of the dough to cut a clean edge.
- Cut around your pan/stencil to remove excess from the edges and voila….(aren’t you Cheffy….). At this stage, you won’t need flour on the dough any more. Use a pastry brush to brush the excess flour off the top of the crust.
- Next, using a fork, prick the crust 40+ times with a fork to cover with small holes and indentations. This process is called “docking”…skip this step, and your crust will puff up with air holes.
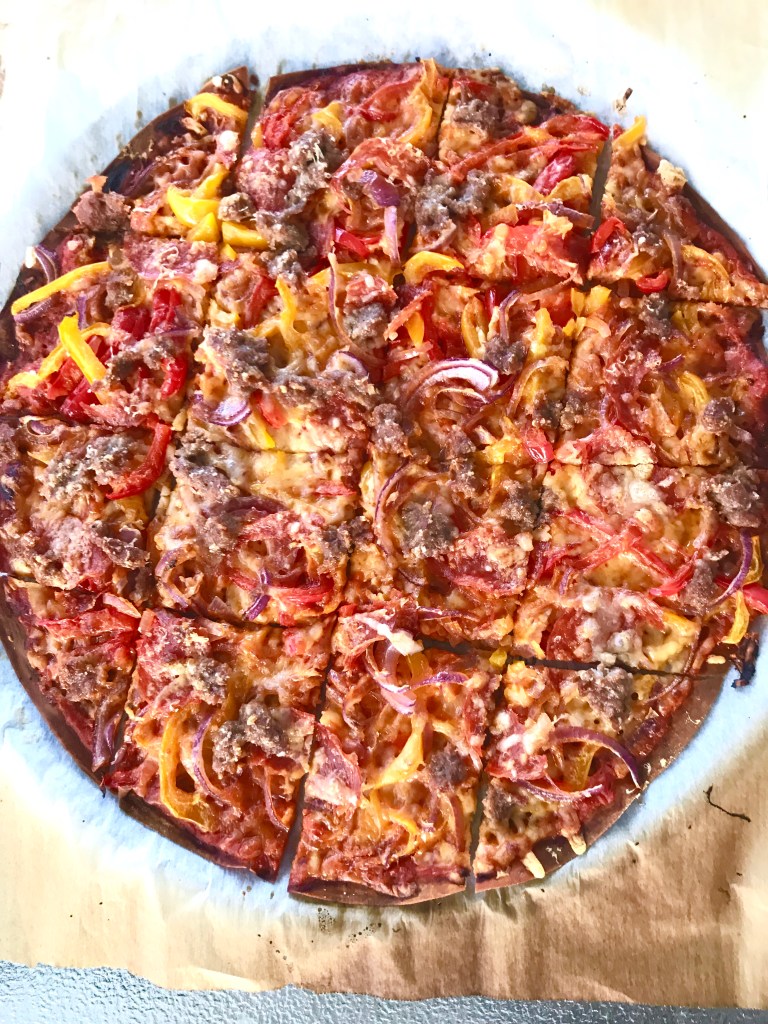
- Your crusts are ready to bake. Transfer each crust to its own sheet of parchment before adding any topping. Set your oven to 475 degrees, and place a pizza stone, or baking tray in the oven to heat. We use our perforated pizza pan, which also acted as our “stencil”, when we cut our crusts. A tray isn’t as thick (and, therefore cannot retain as much heat), as a pizza stone, but it does a fine job. Ensure your racks are set to the upper middle, and bottom middle position while your oven, and stone/pan heat up. At this point, you can get as Cheffy as you like with your topping choices. We enjoy both plain, and loaded, pizzas. Again, ensure that your pizza is on a sheet of parchment paper (do not use wax paper) before you begin to add sauce, cheese, and other items. Add about 1/2 cup of your sauce, and evenly spread to the edges of your pizza with the back of a spoon. Divide your cheese in half, and spread most of one half over the sauce (keep a handful of cheese to the side to finish the top). Place any sliced vegetables you’d like onto the pizza, and any meats over the top layer, and finish with the remaining handful of cheese. Using the edge of the parchment, slide the pizza onto a tray, and then onto your heated stone/baking tray, in the oven (we simply took an oven mitt, and removed our heated tray from the oven to slide the pizza directly onto before putting back in to bake). At 475, the pizza will take 16-19 minutes; rotate your pizza, and change racks halfway through baking. Prepare your second pizza crust while your first one bakes. 19 minutes will give you a more “well done” pizza, which is how we like ours. When your pizza is done, remove from the oven and allow to cool before slicing into squares. Serve.

Mmmmm this looks amazing 🙂
LikeLiked by 1 person