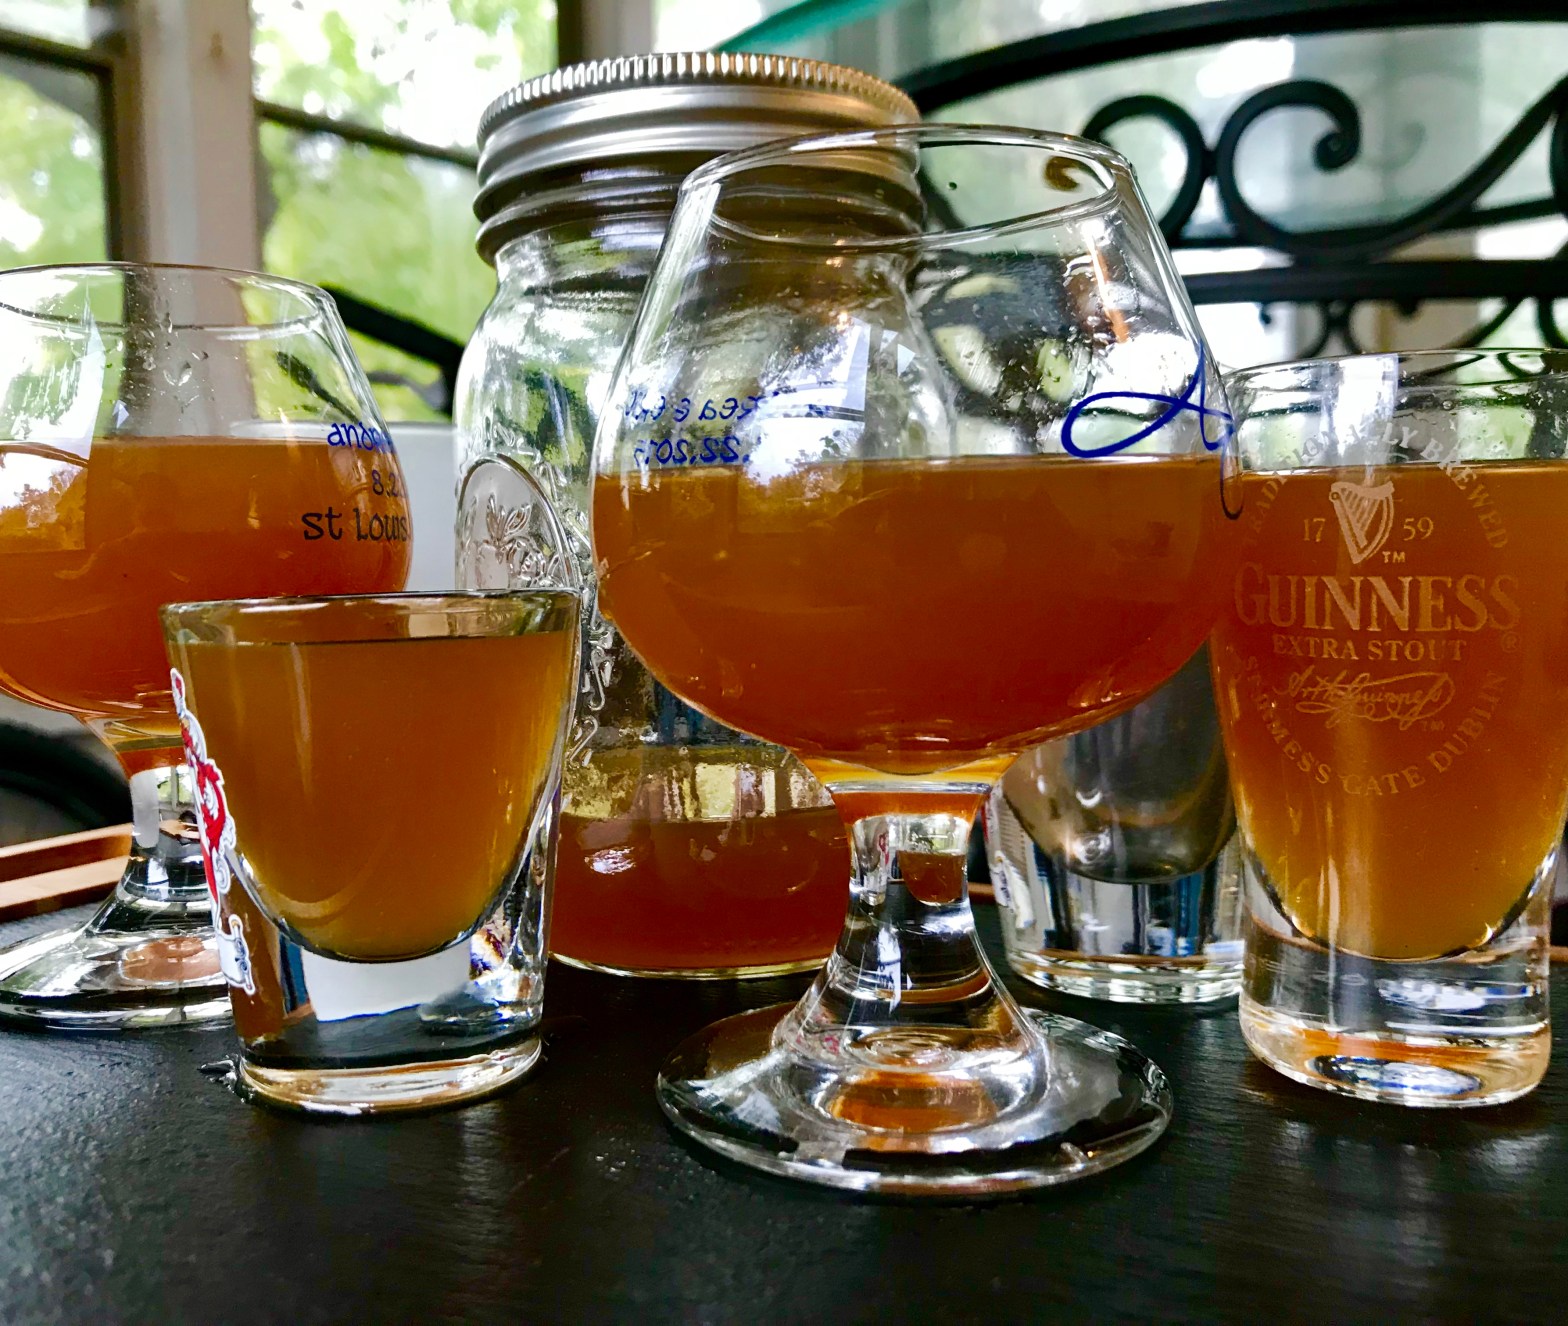
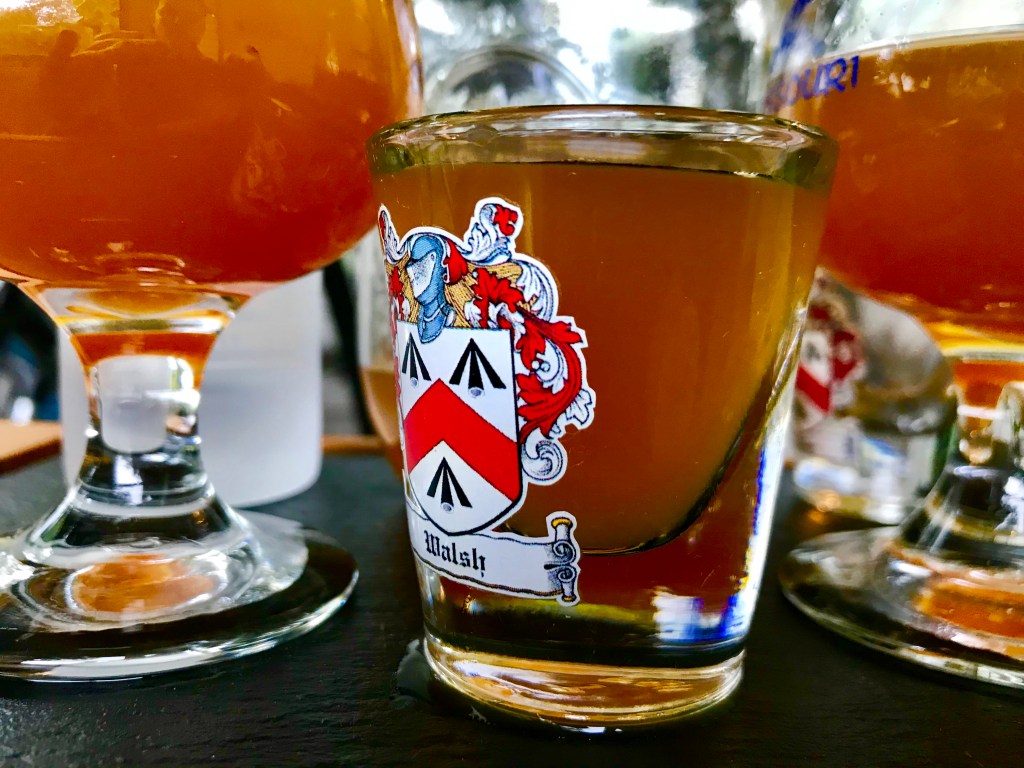
The warmer, cozier, red-headed cousin to the White Claws you enjoyed this summer. Pumpkin Liqueur, or Pumkincello, can easily be made at home with a few simple ingredients.
Your friends will roll their eyes when you bring a bottle of your homemade, Pumpkincello to the next bonfire, but their opinions will change when they taste it. Serve this delicacy over ice cream, mixed into your favorite cocktail, into coffee, or straight up.
FOR THE PUMPKINCELLO:
- 1 15oz. Can Pumpkin Puree
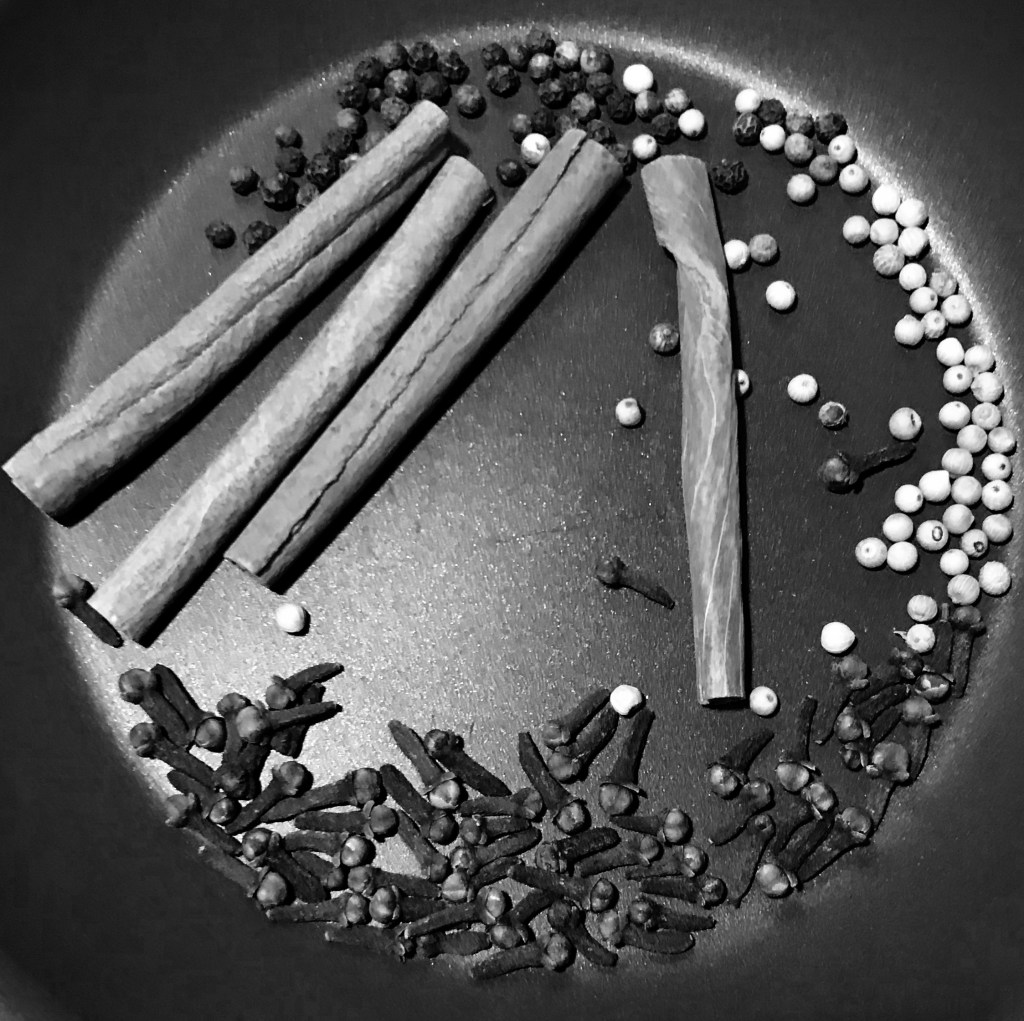
- 1 Tablespoon Whole Cloves
- 1 Teaspoon White Peppercorns
- 1 Teaspoon Black Peppercorns
- 2 Cinnamon Sticks
- 1 Vanilla Pod
- 1 Tablespoon Minced Fresh Ginger
- 3 Cups Vodka
- 1/2 Cup Brown Sugar
- 1 Cup Water
GET CHEFFY TIP!- The spice mixture above is just the beginning. Star Anise, Pink/Green Peppercorns, Cardamom, Coriander, Allspice Berries, Nutmeg, and even Orange Peel would all play well together, and can be added to your mixture to create something uniquely yours. Also, feel free to omit one or more of the spices listed in our recipe above (we get it….they’re expensive, and seem to only be used for this one specific recipe). Mix and match as tastes, and budgets, dictate.


- Begin by toasting your cloves, white and black peppercorns, and cinnamon sticks, in a large, dry skillet set over low heat. After 2-4 minutes over low heat, you should be able to smell the fragrance of the spices coming from your pan. Stir your spices occasionally as they toast to ensure even contact with the pan, and toast for another 1-2 minutes (3-6 minutes total). Transfer your spices to a jar, or bowl, and pour the vodka over your spices. Add your minced ginger and vanilla pod and stir to combine. Cover your container, and steep the mixture, at room temperature, for 24 hours.
- After 24 hours, strain the spices out of the vodka and place the spices, ginger, and vanilla pod into a medium saucepan; keep your vodka aside in a separate container, the vodka should be a rich golden color at this stage. Pour your sugar into the saucepan with your spices, and add 1/2 cup of water before turning your heat to medium high to melt and caramelize your sugar. Bring to a boil, and then reduce to a simmer, over medium heat, for 5-10 minutes until you begin to see the bubbles becoming larger, and the color of the liquid darken. Traditionally, you would watch the color turn to a dark caramel color to determine when your mixture is done cooking. Because we’re using brown sugar, you won’t be able to see as distinct a color change. Swirl (don’t stir) the mixture occasionally and periodically dip a spoon into the liquid, before holding the spoon above the saucepan to allow the liquid to fall back into the pot. Watch as the liquid falls to determine where you are in the caramelization process; a liquid that has begun to caramelize will roll off of your spoon in a “thread” and leave, what looks like, a strand of hair hanging from the spoon. Once your caramel liquid has reached this “thread stage”, add your remaining water to the mixture. NOTE* Adding liquid to hot, cooking sugar/caramel will cause the mixture to react and bubble up violently (this is supposed to happen). Treat caramelizing sugar with the same respect and awareness you would treat hot cooking oil; you can get a horrible burn from it if you’re not careful. Once you’ve added your water, and the violent bubbling has stopped, you’ll see the caramelized sugar seize up, and create a “lollipop” of hardened caramel at the bottom of the saucepan. Continue to cook over low heat until the caramelized sugar re-dissolves (2-3 minutes). Gently spoon in your can of pumpkin puree, and stir to combine. Allow the mixture to heat on low heat for 7-9 minutes stirring occasionally. Turn off your burners and allow the mixture to cool for 10 minutes before adding back to your vodka. Stir to combine your pumpkin mixture with your vodka, and cover for another 48 hours in the fridge (your mixture will separate once in the fridge, so stir to recombine every 12-24 hours (and take a little nip to check your progress too). After 48 hours, strain your mixture through a cheese cloth lined mesh sieve over a large saucepan or bowl. The liquid will strain quickly at first, and then slower as the pumpkin solids begin to collect. Place the straining pumpkincello into the fridge, and allow to drain for another 12 hours. After 12 hours, remove from the fridge and manually wring out any remaining liquid. Store in jars or bottles. Will keep in the fridge for 1 month.


Pumpkin Puree vs. Fresh Pumpkin- Side by side taste testings of canned pumpkin against fresh pumpkin puree have, shown no detectable difference in the flavor of the two. However, to get fresh pumpkin puree, you’ll need to first peel the pumpkin, chop the pumpkin flesh into 1 inch chunks, roast until tender, and then blend in a food processor until smooth. Since you can achieve the same results by buying a can of pumpkin puree, the Get Cheffy kitchen says “absolutely not” to fresh pumpkin in this application.
GET CHEFFY TIP!(s)- We chose Vodka as our spirit due to its neutral flavor. However, if Vodka’s not quite your thing, Whiskey, Bourbon, Rum/Spiced Rum, Brandy, or Cognac can all be substituted for the Vodka (or try a blend of all of these until you get something you like). Additionally, the sugar we add can be changed up with a combination of honey, maple syrup, molasses, etc. Each one of these sweeteners will bring additional flavor profiles to the liqueur. Get creative and Get Cheffy with it!
