
Because you’re an avid Get Cheffy reader, you know that we’re all about reducing waste in the kitchen.
Listen to chefs from previous generations (those from the Jacques Pepin, WWII era), and you’ll learn that kitchens, personal or professional, need to be resourceful, economical, and reduce waste as much as possible.
This stock recipe utilizes a freezer bag full of vegetable and meat trimmings, (onion peel, carrot peel, celery chunks, chicken trimmings of fat, bone, wing-tips, etc.); a “non-freezer bag” version is provided below. If you don’t keep a freezer bag for your trimmings, start one today!

STOCK WITH A FREEZER BAG:
- 1 to 2 Freezer Bags of stock trimmings
- 1 tablespoon tomato paste
- 2 tablespoons soy sauce
- 1 tablespoon minced garlic
- 1 tablespoon Worcestershire sauce
- 1 teaspoon whole peppercorns (black, white, or a combination will all work)
- 1 cup of white wine
- 6-8 cups water
GET CHEFFY TIP!– The additions or white wine, Worcestershire, tomato paste, etc. are all excellent “flavor-boosters”. However, there’s a multitude of other additions you can play with that can boost flavor: Sherry Vinegar, dried/fresh mushrooms, bay leaves and other dried herbs, anchovy paste, etc. can all be added to take your house-made stock to another level.
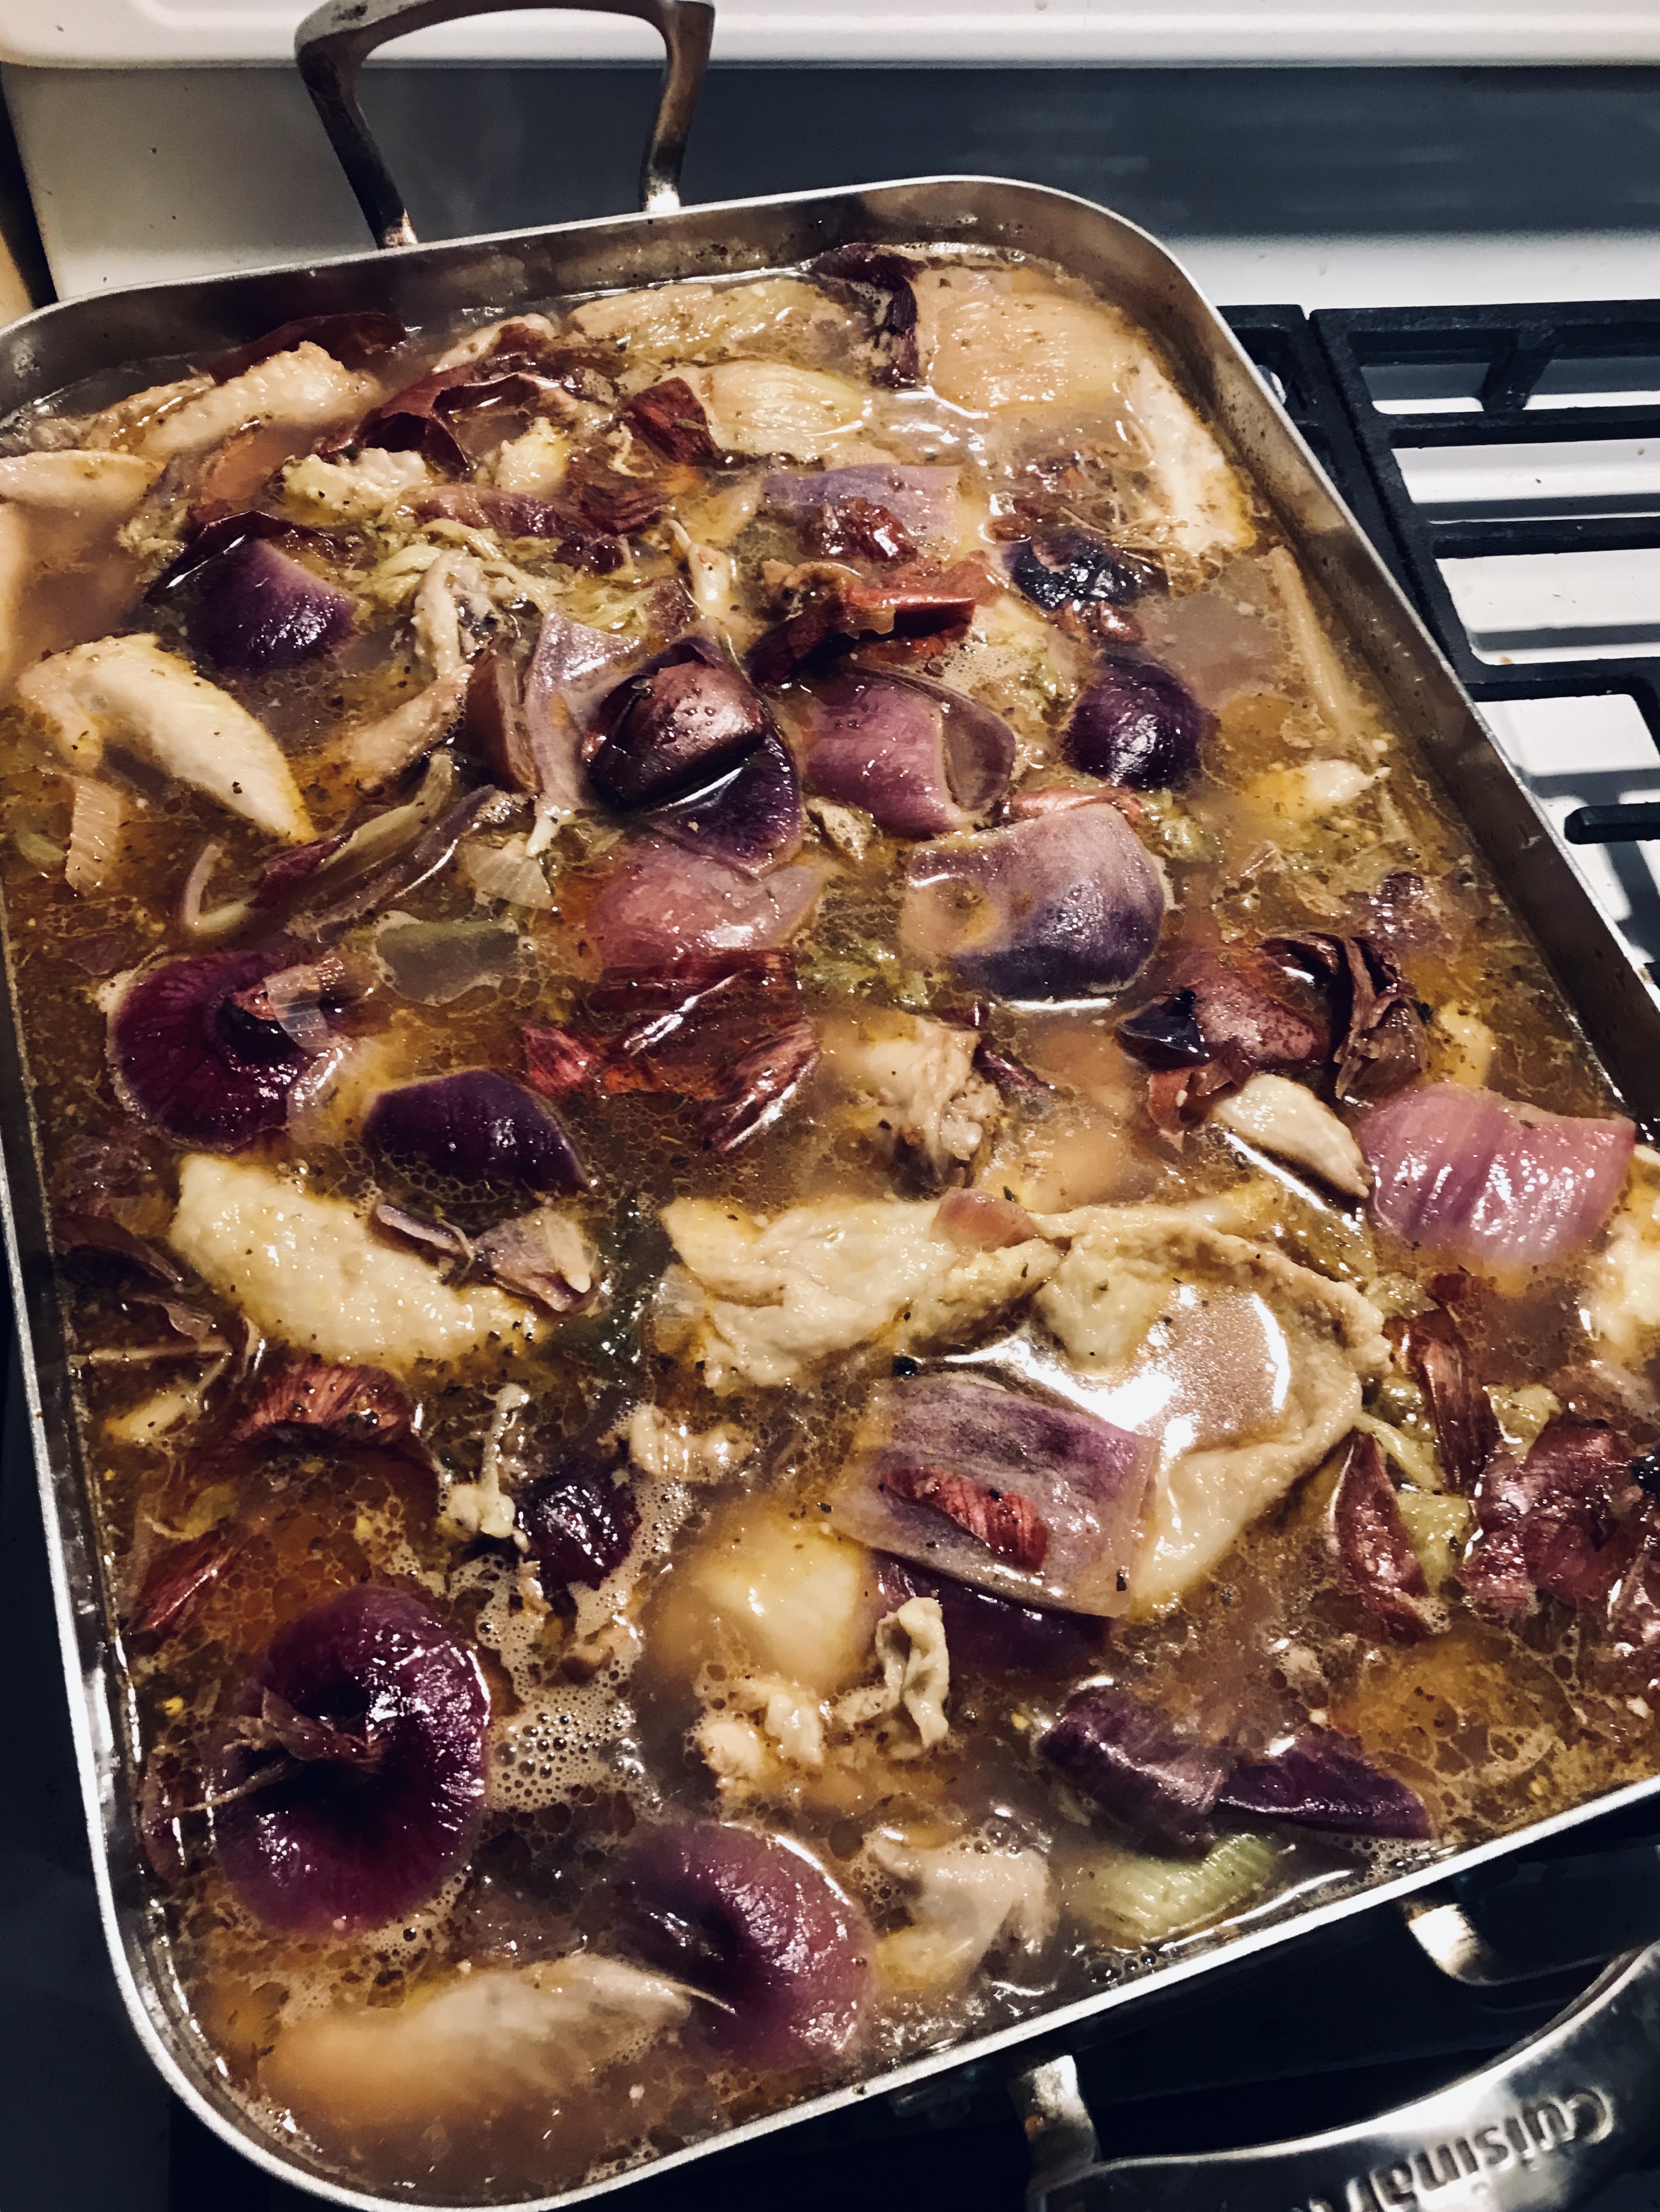
The images shown utilized about 1.5 freezer bags full of discarded vegetable parts, and chicken trimmings.
- Begin by bringing your largest stock pot, or roasting pan, onto a burner set at medium-high heat. Add about one tablespoon of vegetable oil to your pan/pot while it heats up.
- Take your stock bag out of the freezer, and dump the contents into your pot/roasting pan. It will take a few minutes for the pieces to thaw out completely and separate from each other; additionally, you’ll have a fair amount of moisture to drive off from the frost that’s accumulated. 10-15 minutes over high, or medium-high heat, should thaw out everything.
- After 10-15 minutes, you’ll begin to see some browning at the bottom of your pan; keep moving things around so nothing sticks, or scorches at the bottom of the pot. Turn your heat down, if necessary, but you’re trying to achieve a consistent browning of your vegetable and meat trimmings. Add more oil if your pan/pot is too dry.
- Once you hear sizzling, this is a good indication that you’ve driven off most of the excess moisture from your meat/veg, and a fond will begin to develop at the bottom of your pot. Continue to move things around with tongs to ensure nothing is burning in one spot, and nothing is too far from the heat.
- Once you have a layer of fond developed on the bottom of your pan/pot, lower your heat to medium low/low, and add your tomato paste. Continue to cook for another 5-10 minutes coating your stock meat/veg with the tomato paste and allowing another layer of fond to develop on the bottom of the pan*
- *Use your best judgement on the heat setting. All ovens are different, and if things are moving to quickly, and your pan is browning too much, or unevenly, turn your heat down, or off, and add some water to prevent scorching
- After 5-10 minutes, your tomato paste will have changed color from a vibrant red, to a deeper, rust-colored brown. Add your minced garlic, and whole peppercorns, and allow to cook through for 30 seconds to two minutes; don’t let your garlic burn.
- Add your soy, Worcestershire, and white wine to begin deglazing. Turn your heat up to high to drive off the alcohol in the wine. Use your tongs to “rough up” the bottom of your pot; you’re trying to “melt” and dislodge all of that delicious brown fond that you’ve worked so hard to build up at the bottom of your pot/pan.
- Once the wine, soy, and Worcestershire have nearly evaporated, begin to pour in your 6-8 cups of water*.
- *If your cooking vessel won’t hold the 6-8 cups, then don’t despair, and don’t try and fit a square peg into a round hole…use less water.
- Cover, or nearly cover, all of your trimmings in water, and bring back to a boil. Once your pot/pan is at a boil, reduce your heat to a low simmer for three hours. Check in every hour to ensure things are moving along properly. Skim any “scum” or excess fat that rises to the top
- If your cooking pan/pot/vessel is oven safe, place it into the oven at 375 for three hours with the lid off (checking in on it every hour to ensure you’re not loosing too much moisture); with this method, you’ll need to rearrange, and move your trimmings as the ones on the top will brown and burn if not re-submerged.
- After you’ve cooked your stock for three hours, turn all burners off, and grab your strainer, tongs, and garbage can. Bring a second, empty pot/pan, and a strainer, over to your oven and begin to pull the larger chunks out of your stock pot, and into the mesh strainer. Fill the mesh strainer until it’s nearly at capacity, and then begin to gently press down onto your trimmings. Allow the liquids to strain down through mesh strainer into your second pot/pan/vessel, and continue to gently press until no more liquid comes out. Those trimmings have done their job, and can be discarded. Continue this process until all of the larger chunks or bone, vegetable, etc. are removed from your original stock pot.
- Using oven mitts, pick up your original stock pot and gently pour it through your mesh strainer*.
- If your stock pot is heavy, or you’re uncomfortable lifting and pouring it through your strainer, ladle the stock through the strainer until nearly all of it is out of the original vessel, and strained into your second pot/pan.
- Remove any remaining bits that are still in your original vessel, and discard anything that you caught in your strainer. At this point, you can re-strain back into your original vessel by using your mesh strainer again with a piece of cheese cloth, or coffee filter; however, this is usually not necessary.
- Taste your stock at this point. It may need some salt. Be very conservative with your salt, as you’ll be boiling down your liquid by half, and can unintentionally over season your stock.
- Boil down your strained stock by about half of it’s original volume; continue to skim any “scum/bubbles” or pools of excess fat that rise to the top. Once your stock has reduced, it is ready to use, or freeze. Use as a base for your next risotto, cooking liquid for pasta, gravy, or soup base…..you won’t know what hit you.
STOCK WITHOUT A FREEZER BAG:
- 3 chopped Carrots
- 2 chopped Onions (red, white, yellow, any kind will do)
- 3 stalks chopped Celery
- 1 pound of chicken wings, or other chicken parts
- Start a freezer bag! Just do it….
- Take a gallon bag, write today’s date on it, and pop it in the freezer. You will be amazed at how quickly it fills up. Toss in your onion, carrot, and celery peels, but also trimmings of other vegetables, hard-cheese rinds (like parmesan), bones, fat, and other “undesirables” (gizzards, necks, etc.)that would otherwise go into the trash.
- Take your chopped vegetables and chicken parts, and brown off in your largest stock pot, or roasting pan. From here, follow the instructions for STOCK WITH A FREEZER BAG, picking up at step 3.

6 thoughts on “House-Made Stock”