It’s late summer, and our herbs have been producing a surplus for several months. To extend our herbs into the fall and winter, we turn our surplus of basil into pesto, but have never done anything to preserve our surplus of chives (until now). Follow the simple steps below to dry your fresh chives and make them shelf-stable for use throughout the winter. The joke’s on you, overpriced spice-aisle of the grocery store; Bon Appetit and Get Cheffy!
FOR THE DRIED CHIVES:
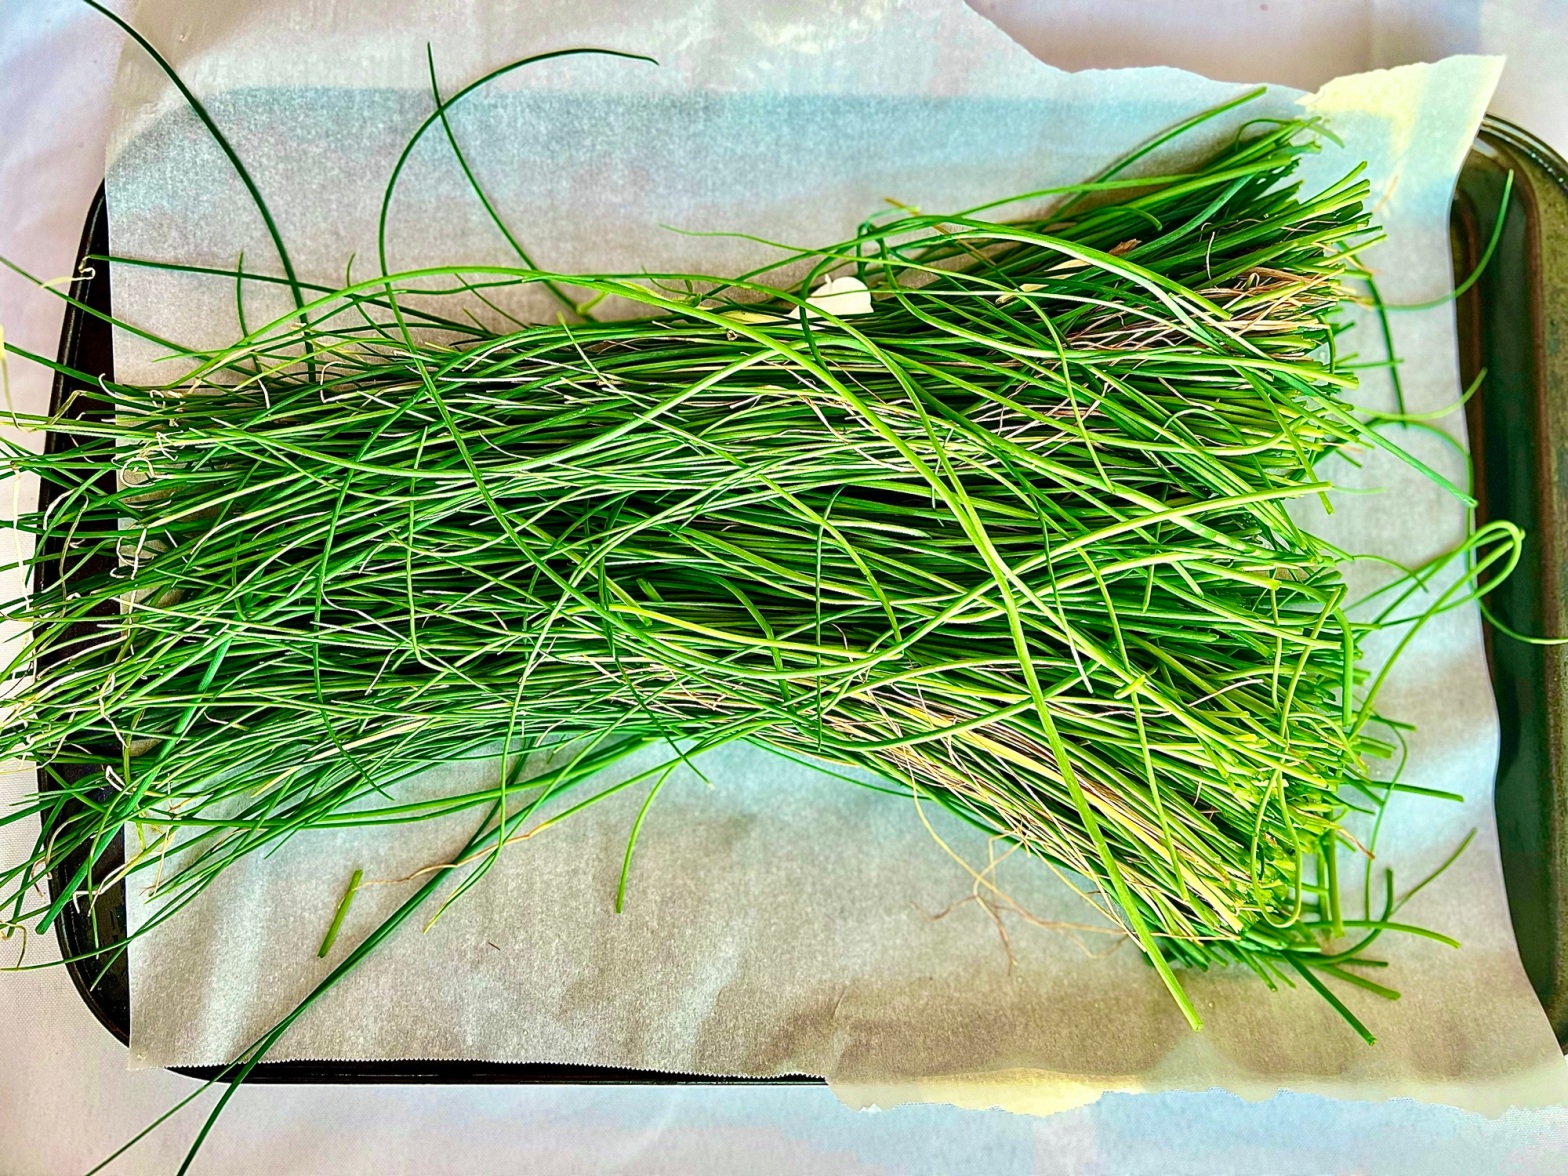
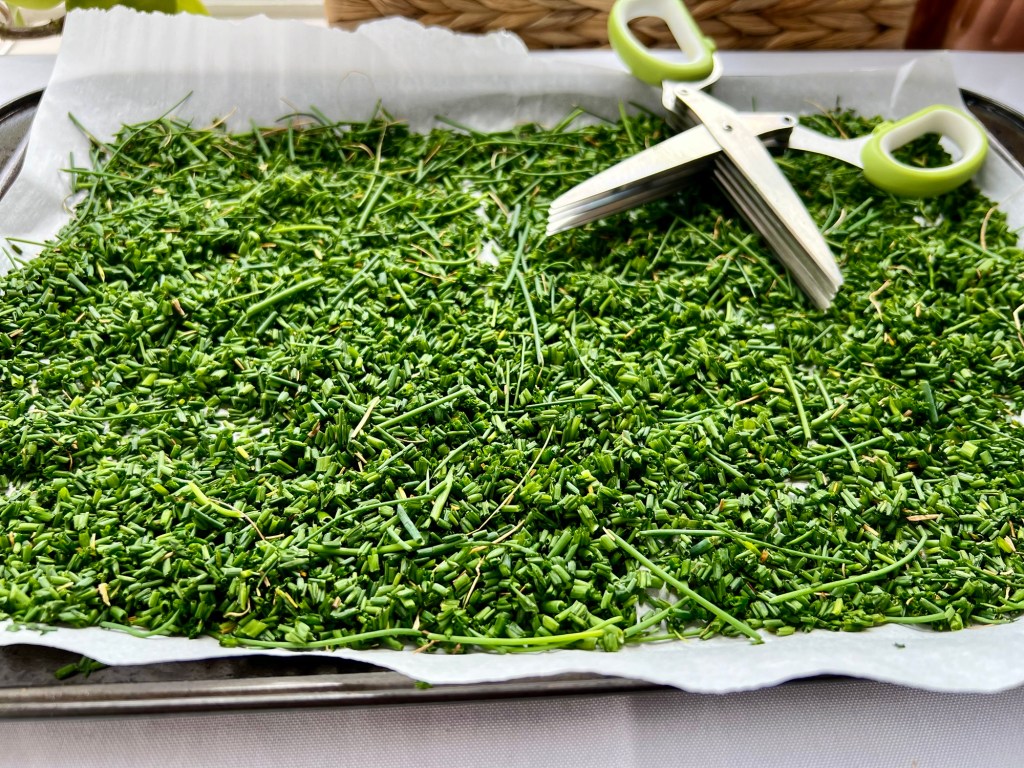
- Begin by trimming and washing your fresh chives. The amounts don’t need to be precise but know that, once dried, your chives will shrink in volume considerably. After washing and drying your fresh chives, place them on a parchment lined baking sheet. We use a pair of herb scissors to quickly trim our chives into the appropriate fine mince, but a butcher knife will achieve the same result. Once minced, leave your chives on the parchment paper on the counter for 48 hours. They will naturally dehydrate if left undisturbed in about 2 days. After 2 days, place your dried chives in a mason jar for later use.


GET CHEFFY TIP!– We can almost guarantee you much of the dried chives we make will be used to make ranch dips throughout the winter but don’t let that limit your creativity! Add them to baked potatoes, sprinkle over French fries, soups, stews, omelettes or anything else you want to add a savory, delicate onion flavor to.
